It’s important to understand the difference between Vector Files and Raster Images in order to understand tracing images.
Types of Vector images you’re likely to run across include, Studio Files, SVG Files, Adobe Illustrator (AI) files, Corel Draw files (CDR) and Encapsulated Postscript Files (EPS).
Types of Raster Images you might be familiar with include JPG, BMP, PNG, TIFF.
Cutting machines use vector files. Any other file has to be converted to the vector file your machine uses.
SO WHAT’S THE DIFFERENCE?
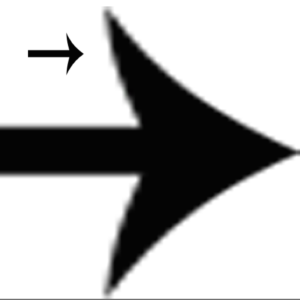
A raster image is made of up pixels, each a different color, arranged to display an image. Each pixel is a piece of information and remains unchanged when you resize it. That’s why this happens when you enlarge a picture

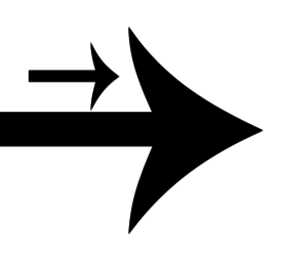
.A vector image is made up of paths, each with mathematical information that tells the path how it is shaped. For this reason, the shape remains the same, no matter how you resize it.
The major difference is that raster image pixels do not retain their appearance as size increases – when you blow a photograph up, it becomes blurry for this reason. Vectors do retain appearance regardless of size, since the mathematical formulas dictate how the image is rendered. This is the same image as a vector.
SO WHY DOES THIS MATTER?
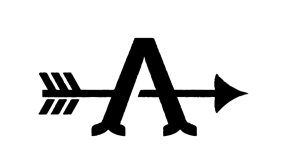
When want to take an image and turn it into a cutting file, you have to turn it into a vector. You have to start with a high quality image to trace it. If you start with a low quality image, your output will be unsatisfactory. Look at this logo. It is very small and low res.

Now look at what happen whenI trace a low res. file in Studio.
So the takeaway is:
Always use a vector when you can. You can resize to any size.
If you can’t get a vector and need to trace, start with a high resolution image.
