RESOLUTION

With a lot of people entering the Sublimation craze, there seems to be quite the misunderstanding of lack of understanding of the roll that RESOLUTION plays in in printing.

Resolution is expressed in Dots per Inch. The higher the number the higher the resolution and the clearer the print will be (up to a point – most printer print 300 dpi). So if your design is the size you want to print it, at 300 dpi, it will print the way you want it.

For the most part you can’t increase the DPI (there are some programs like the newest Photoshop which can use predictive AI to fill in some pixels and double it). If you start with a small image and enlarge it, you don’t add pixels, you stretch them out, making them larger and your picture less clear.

You can, however, shrink an image and not lose resolution. So it’s always better to start with the highest resolution possible.

The examples below use actual images for which I have purchased commercial rights.

  1. Screen Shot – looks great want to put this on a shirt. Copied it from a website and even managed to remove the background!!
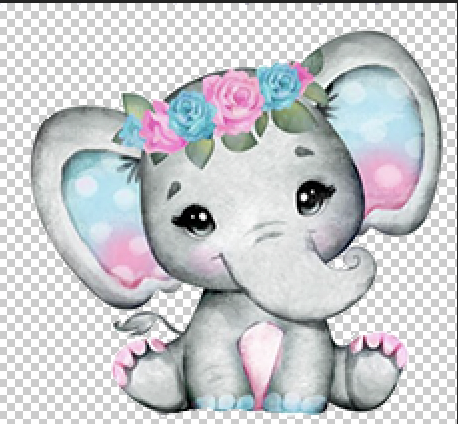
The problem is the image is approx 3×3 with a resolution of 72 DPI. So I make it the 10×10 image. It still looks great on the screen.

UhOH!!! Why is my print blurry, it looks great on the screen. Because this is the actual size now. Resolution is 19 DPI after enlarging it.
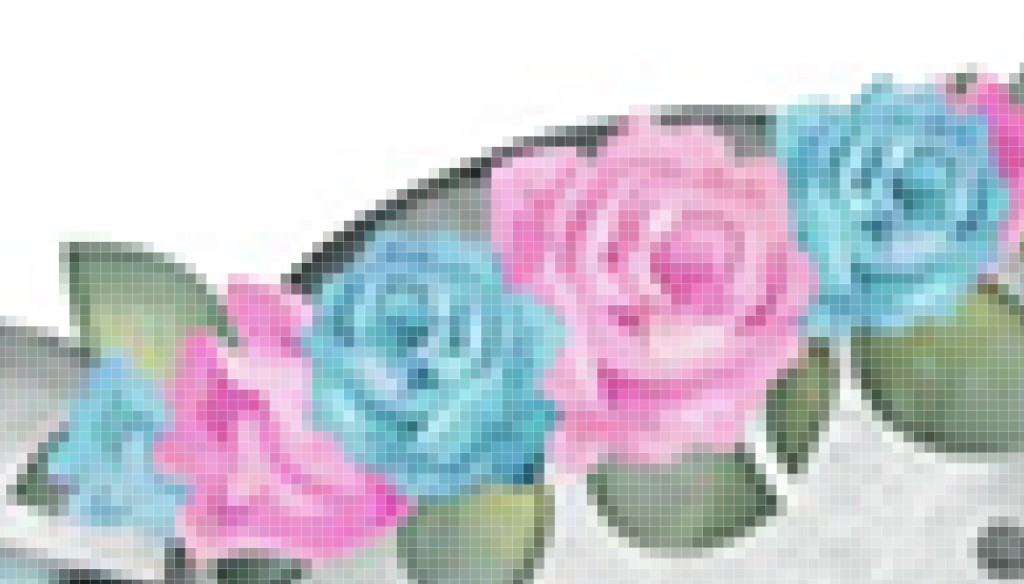
Now here is the actual print after downloading from the website and I don’t even have to remove the background myself
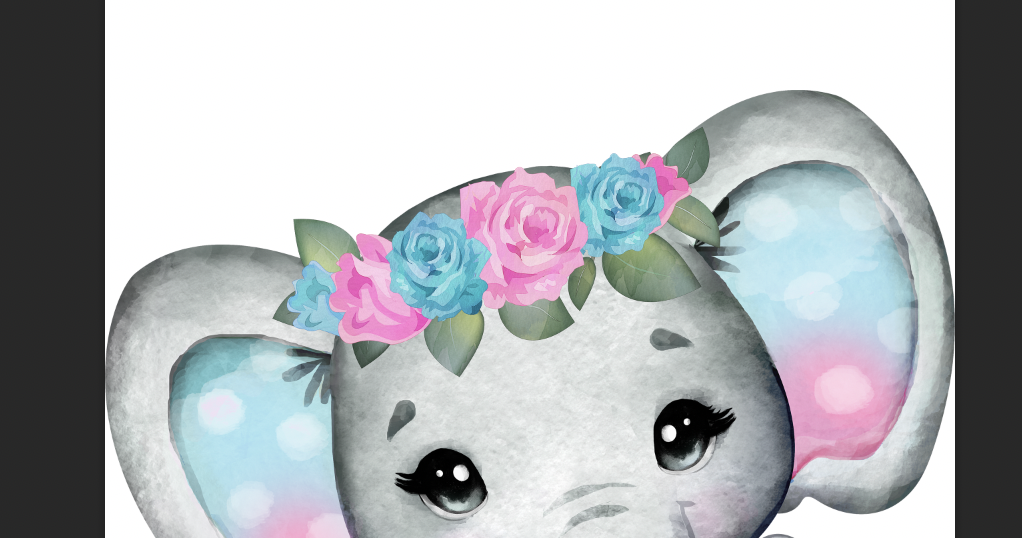

Creative Fabrica

SVG, Studio Files (Vector) vs JPG (Raster) images

It’s important to understand the difference between Vector Files and Raster Images in order to understand tracing images.

Types of Vector images you’re likely to run across  include, Studio Files, SVG Files, Adobe Illustrator (AI) files, Corel Draw files (CDR) and Encapsulated Postscript Files (EPS).

Types of Raster Images you might be familiar with include JPG, BMP, PNG, TIFF.

Cutting machines use vector files. Any other file has to be converted to the vector file your machine uses.

SO WHAT’S THE DIFFERENCE?

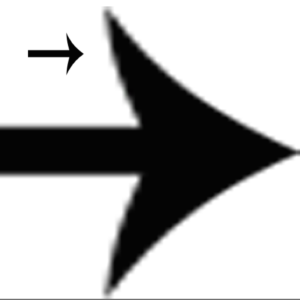
A raster image is made of up pixels, each a different color, arranged to display an image. Each pixel is a piece of information and remains unchanged when you resize it. That’s why this happens when you enlarge a picture

.A vector image is made up of paths, each with mathematical information that tells the path how it is shaped. For this reason, the shape remains the same, no matter how you resize it.

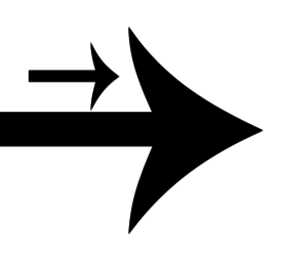
The major difference is that raster image pixels do not retain their appearance as size increases – when you blow a photograph up, it becomes blurry for this reason. Vectors do retain appearance regardless of size, since the mathematical formulas dictate how the image is rendered. This is the same image as a vector.

SO WHY DOES THIS MATTER?

When want to take an image and turn it into a cutting file, you have to turn it into a vector.  You have to start with a high quality image to trace it.  If you start with a low quality image, your output will be unsatisfactory. Look at this logo. It is very small and low res.


Now look at what happen whenI trace a low res. file in Studio.


So the takeaway is:

Always use a vector when you can. You can resize to any size.

If you can’t get a vector and need to trace, start with a high resolution image.


How to use PUA Coded fonts in Silhouette 4.1 DE

First thing to do is to make sure your font is PUA coded. Not all fonts are. Especially some of the older beauties. To learn more about PUA, read this article: WHAT ARE PUA FONTS.

Once you’ve confirmed that, using these fonts is simple if you have version 4.1 Designer Edition or above.

Select your font and type.


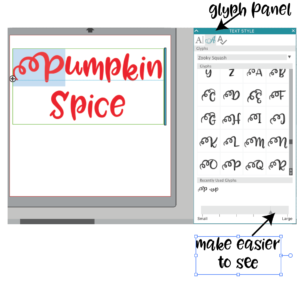
Next, highlight the letter you want to change and click on the fancy looking “A” on the text panel. Select the alternate you want. It’s just that easy!


Using Fonts in My Silhouette

As I scanned a Silhouette FB page, while sipping my morning coffee, these two questions appeared more than 3 times each with varying wording:

I downloaded a font. How do I get it into my Silhouette?

I bought a font on Etsy and I can’t get it into my Silhouette.

The answer for both questions begins with:

You may have to unzip them first

So, locate the download (likely in the download folder) and see if it ends in “.zip” On both a Mac and PC, you can double click to unzip it (How to unzip a file). Pay attention to where the unzipped contents end up. If you don’t specify, they will be in the same folder you zipped file was.

This is where the steps differ depending on whether it is an Etsy “Font” or a real font. For a regular font, either that you purchased from places like Mighty Deals, Creative Market, etc, or downloaded from Dafont, locate the font, double click it and select install, or right click it and select install:

How to Install a font on a PC        How to Install a font on a Mac

Close your Silhouette program and reopen it. When you reopen it, your fonts will be listed when you click your font button. If the bold or italic options are available, that will be to the side of the font.

Your font folder in your library is just for fonts purchased from the Silhouette store. To the best of my knowledge you can’t add outside fonts to it. If someone knows this is incorrect, please post a comment.

OK, so that’s regular fonts. What about “fonts” you purchase on Etsy. Notice that I put the word fonts in quotations. That’s because, with very few exceptions, you are not purchasing a font. You are purchasing a vector file. They don’t behave the same way. A font is a much more complex thing and you can expect to pay more. With a vector file, you have to first unzip the file, then open the SVG file in you software, ungroup it and lay it out the way you want.

Many of these Etsy files are being used in ways that are prohibited by their licensing. Some are even just outright stolen and resold. Look at this one.

Kim Geswein is one of our best resources. She gives us gorgeous fonts free for personal use and charges only $5 for commercial use. This example burns my butt! (pardon my language). And there are hundreds more just like it on Etsy.

Do be cautious with “fonts” from Etsy where the copyright clearly doesn’t belong to the person offering them. The Etsy seller may give you commercial rights, but the real rights belong to the developer. They can still go after you and prevent you from using them.

I love fonts and I love creating with them. I am thankful for font designers who make these available to us at no cost or low cost. I respect developers of expensive fonts and if they “speak” to me long enough, I buy them – my most expensive to date being Desire Pro. Clearly a lot of work went into this.